Local Development with ngrok
ngrok exposes your local InstaCRUD instance to the internet, enabling OAuth callbacks, webhook testing, and sharing your development environment.
Why Use ngrok?
- OAuth Testing — Google and Microsoft OAuth require HTTPS callback URLs
- Webhook Development — Test external service integrations locally
- Mobile Testing — Access your local app from mobile devices
- Demo Sharing — Share your work-in-progress with teammates
Installation
1. Install ngrok
Download from ngrok.com or use a package manager:
# macOS
brew install ngrok

# Windows (Chocolatey)
choco install ngrok

# Linux (snap)
snap install ngrok
2. Create Account and Authenticate
- Sign up at ngrok.com
- Copy your authtoken from the dashboard
- Configure ngrok:
ngrok config add-authtoken YOUR_AUTH_TOKEN
Docker Deployment (Recommended)
The ngrok free plan allows only one tunnel. This section shows how to deploy InstaCRUD with Docker, exposing a single nginx port that routes to both backend and frontend.
Overview
ngrok (HTTPS) → nginx (:80) → backend (:8000) / frontend (:3000)
nginx handles path-based routing:
/api/*,/oauth/*,/docs,/openapi.json→ backend- Everything else → frontend
1. Configure Environment
Create a .env.vps file (or export these variables):
# ngrok URL (get this after starting ngrok)
BASE_URL=https://your-tunnel.ngrok-free.dev

# SSL disabled - ngrok handles HTTPS
SSL_ENABLED=false

# Required secrets
MONGO_PASSWORD=your-secure-password
SECRET_KEY=your-jwt-secret

# OAuth (optional but recommended)
GOOGLE_CLIENT_ID=your-google-client-id
GOOGLE_CLIENT_SECRET=your-google-client-secret

# Turnstile (optional - use dummy mode for local dev)
TURNSTILE_MODE=dummy
2. Start ngrok
Start ngrok pointing to port 80:
ngrok http 80
ngrok displays a forwarding URL like:
Forwarding https://abc123.ngrok-free.dev -> http://localhost:80
Copy this URL for the next step.
3. Update BASE_URL
Set the BASE_URL environment variable to your ngrok URL:
export BASE_URL=https://abc123.ngrok-free.dev
Or update your .env.vps file.
4. Build and Start Services
# Build and start services using environment variables from .env.vps
docker compose --env-file .env.vps -f docker-compose.vps.yml up -d --build
5. Initialize Database (First Run)
Create the admin user:
docker compose -f docker-compose.vps.yml exec -it backend poetry run python -m init.init
6. Access Your App
Open the ngrok URL in your browser:
https://abc123.ngrok-free.dev
OAuth Configuration
When using ngrok for OAuth testing, update your provider settings:
Google Cloud Console
- Go to APIs & Services > Credentials
- Edit your OAuth 2.0 Client ID
- Add to Authorized redirect URIs:
https://your-tunnel.ngrok-free.dev/oauth/google/callback
Microsoft Azure Portal
- Go to App registrations > Your App > Authentication
- Add to Redirect URIs:
https://your-tunnel.ngrok-free.dev/oauth/microsoft/callback
Local Development (Without Docker)
For local development without Docker, you can run the backend and frontend directly and use two ngrok tunnels (requires paid plan) or use the Docker method above.
Backend Only
Expose the backend API on port 8000:
ngrok http 8000
Backend and Frontend (Two Tunnels - Paid Plan)
Running two simultaneous tunnels requires a paid plan (free plan allows only one).
Terminal 1 — Backend:
ngrok http 8000 --domain=your-backend-domain.ngrok-free.dev
Terminal 2 — Frontend:
ngrok http 3000 --domain=your-frontend-domain.ngrok-free.dev
Update environment variables:
# Backend (.env)
BASE_URL=https://your-backend.ngrok-free.dev
FRONTEND_BASE_URL=https://your-frontend.ngrok-free.dev
CORS_ALLOW_ORIGINS=https://your-frontend.ngrok-free.dev,http://localhost:3000

# Frontend
NEXT_PUBLIC_API_BASE_URL=https://your-backend.ngrok-free.dev
Tips
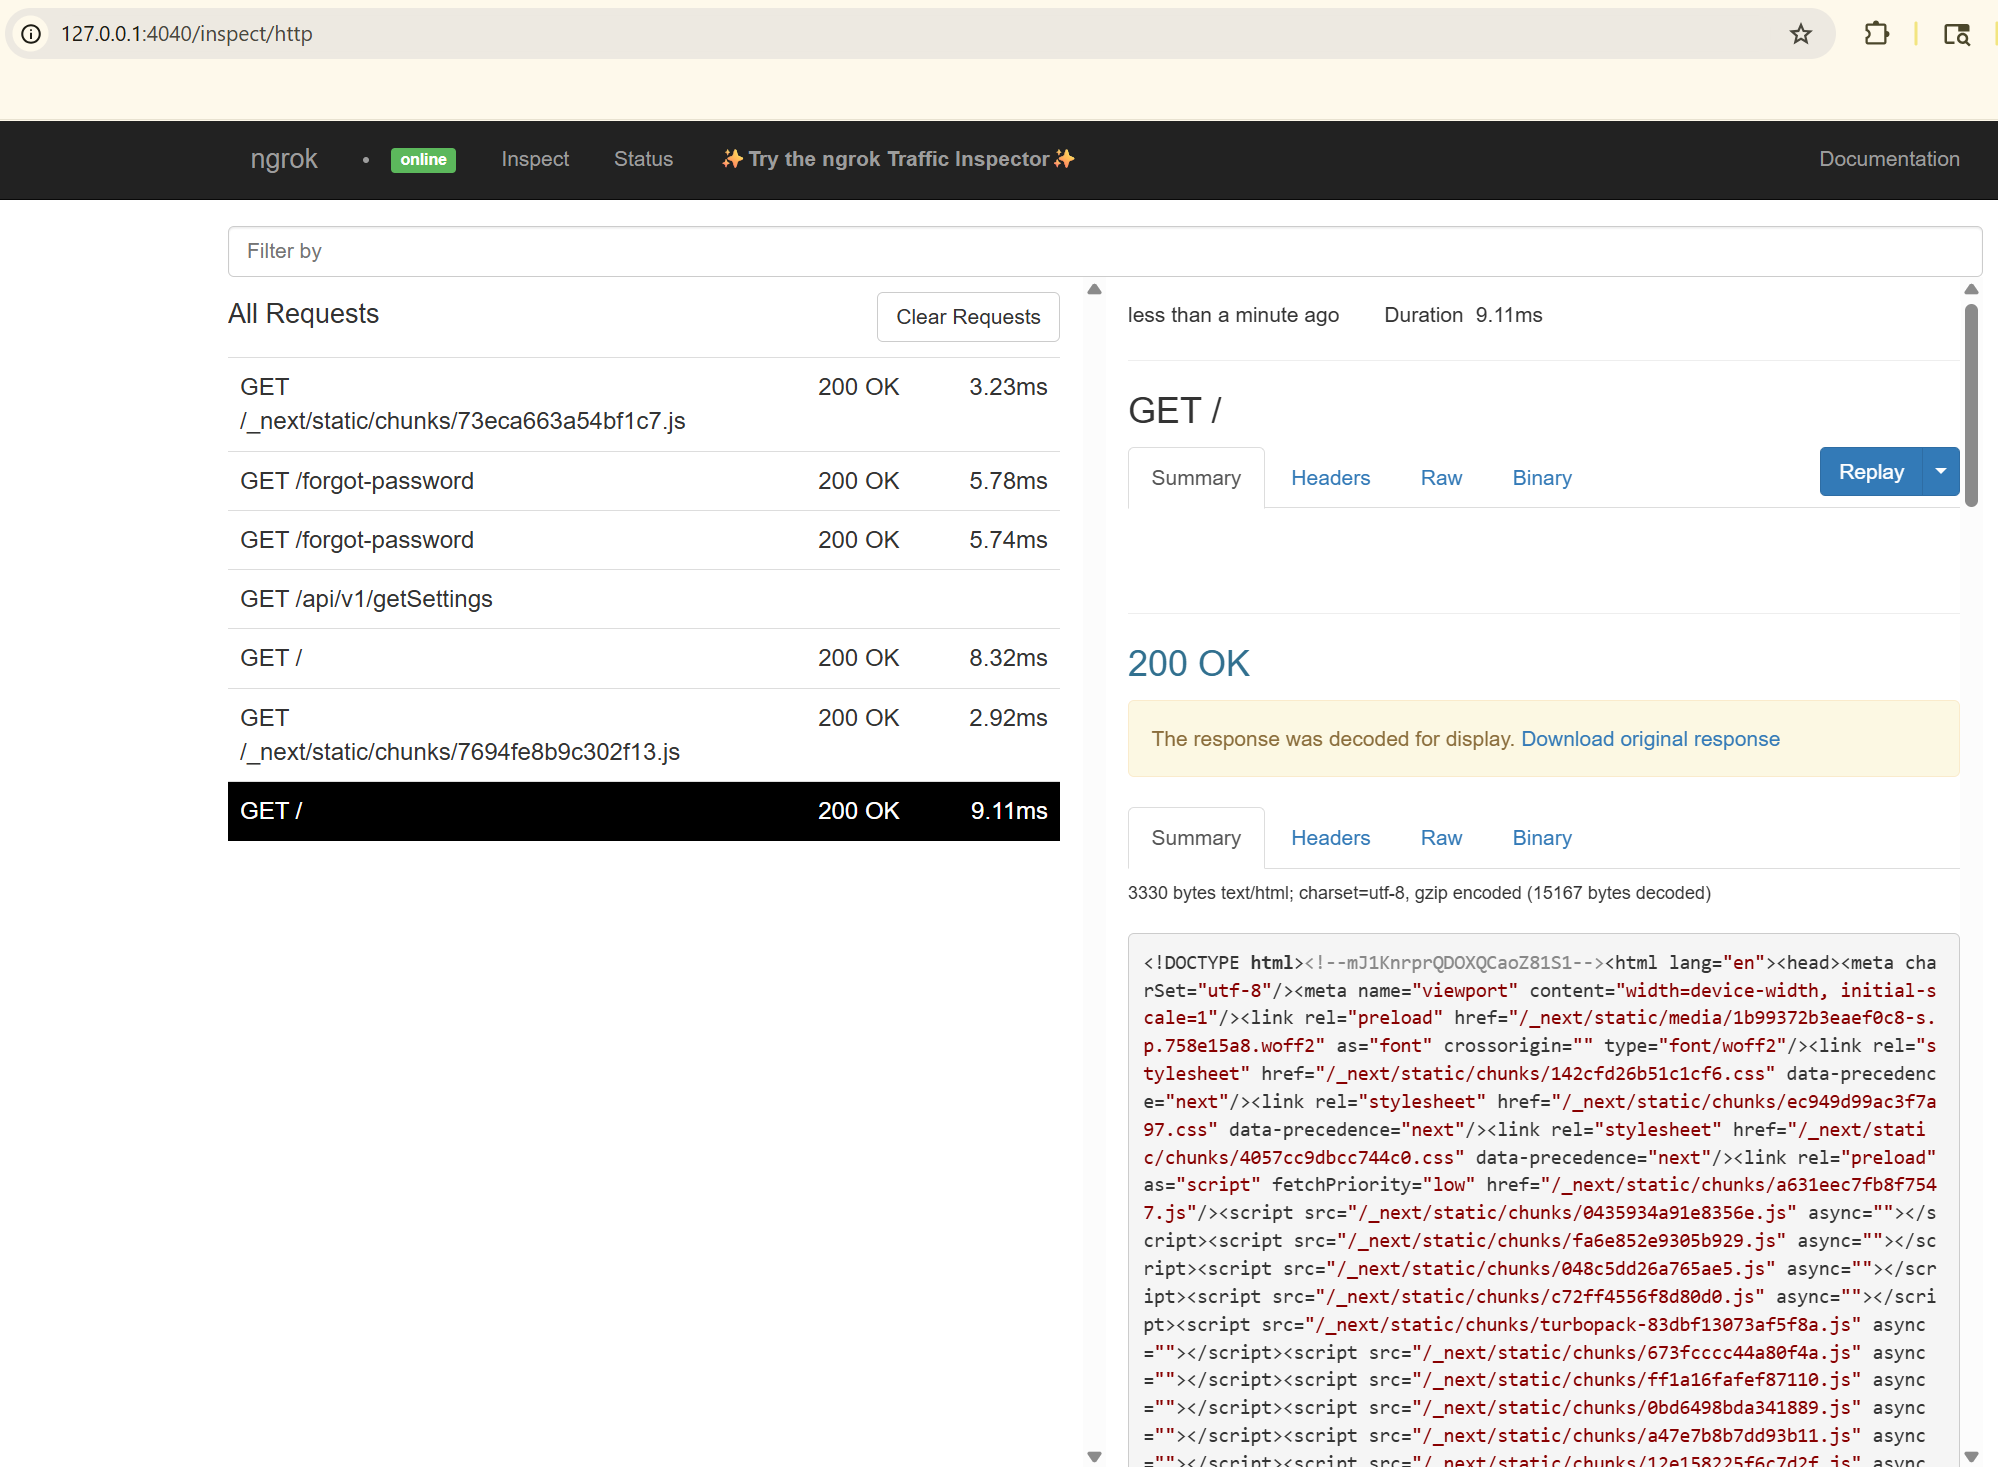
Inspect Traffic
ngrok provides a web interface for inspecting requests:
http://127.0.0.1:4040
Persistent URLs
ngrok provides one free static domain per account. To claim yours:
- Log in to ngrok dashboard
- Go to Universal Gateway > Domains (or Cloud Edge > Domains)
- Click Create Domain to get your free static domain
Your domain will look like random-name-here.ngrok-free.dev (assigned by ngrok, not customizable on free plan).
Use it with:
ngrok http 80 --domain=your-assigned-domain.ngrok-free.dev
Custom domain names (like myapp.example.com) require a paid plan.
:::note Free Plan Limitations
- Interstitial page: Visitors see a warning page they must click through
- 20,000 requests/month and 1 GB bandwidth/month
- One tunnel at a time :::
Configuration File
Create ~/.ngrok2/ngrok.yml for persistent settings:
version: "2"
authtoken: YOUR_AUTH_TOKEN
tunnels:
  instacrud:
    proto: http
    addr: 80
    domain: your-assigned-domain.ngrok-free.dev  # From ngrok dashboard
Start the tunnel:
ngrok start instacrud
Stopping Services
docker compose -f docker-compose.vps.yml down
To also remove volumes (database data):
docker compose -f docker-compose.vps.yml down -v
Troubleshooting
Check service status
docker compose -f docker-compose.vps.yml ps
docker compose -f docker-compose.vps.yml logs -f nginx
Verify nginx routing
# Should return backend health check
curl -I https://your-tunnel.ngrok-free.dev/api/health

# Should return frontend
curl -I https://your-tunnel.ngrok-free.dev/
ngrok shows "Bad Gateway"
Ensure Docker services are running:
docker compose -f docker-compose.vps.yml ps
All services should show "Up" status.
Summary
The Docker deployment method is recommended for ngrok:
- Start ngrok pointing to port 80
- Set
BASE_URLto your ngrok URL - Set
SSL_ENABLED=false(ngrok handles HTTPS) - Run
docker compose -f docker-compose.vps.yml up -d
This approach:
- Works with ngrok's free plan (single tunnel)
- Uses the same compose file as VPS deployment
- nginx routes requests to backend/frontend based on path